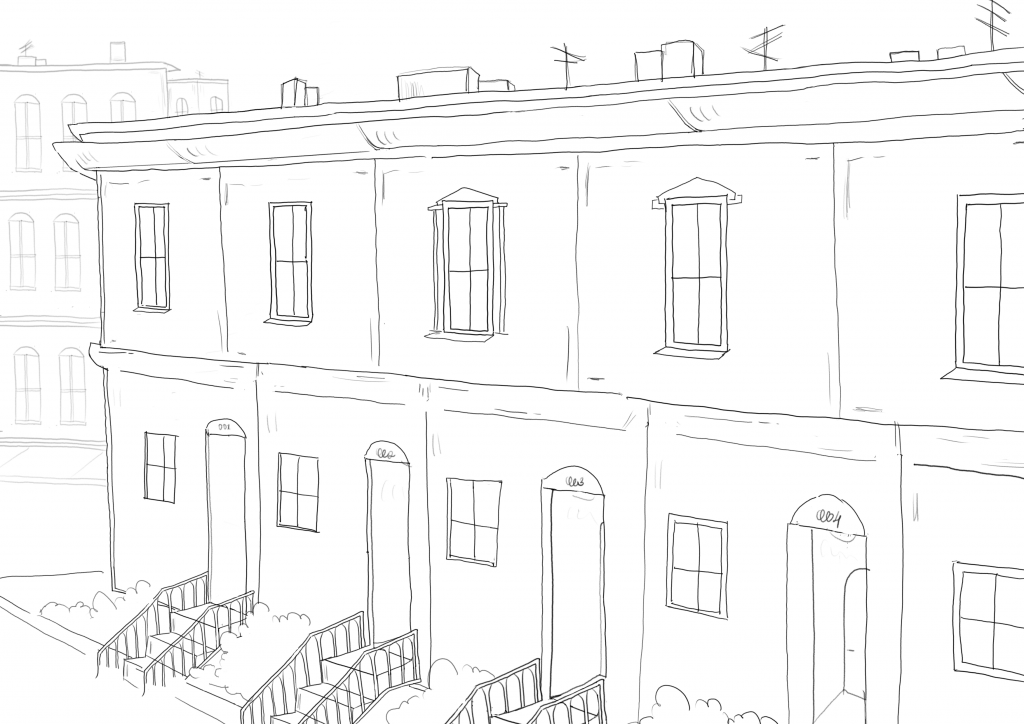
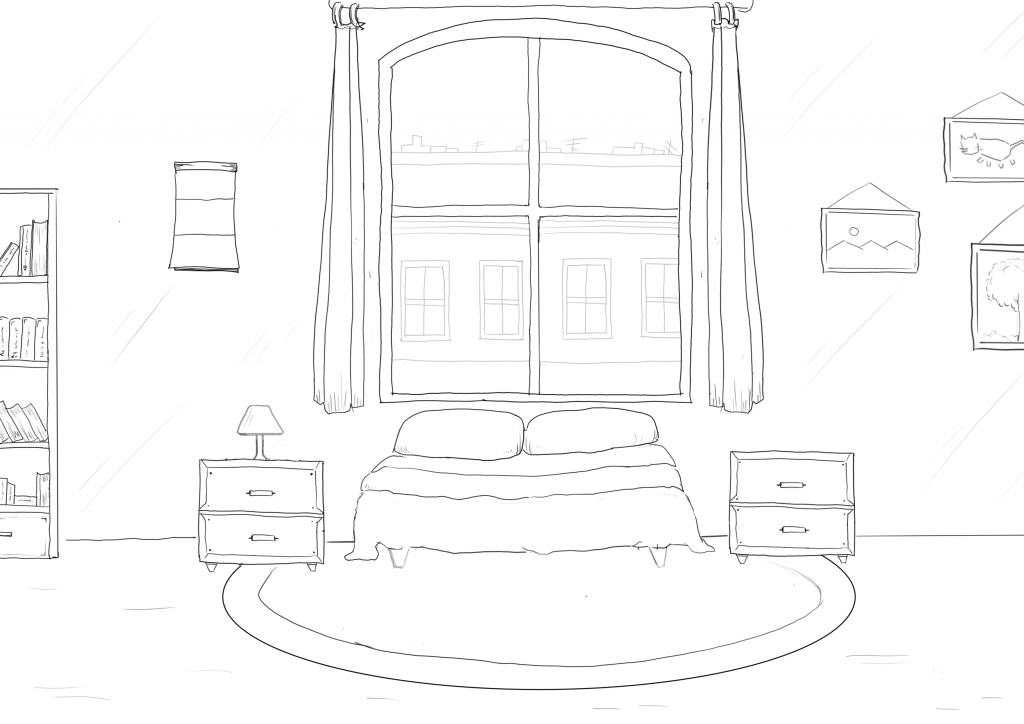
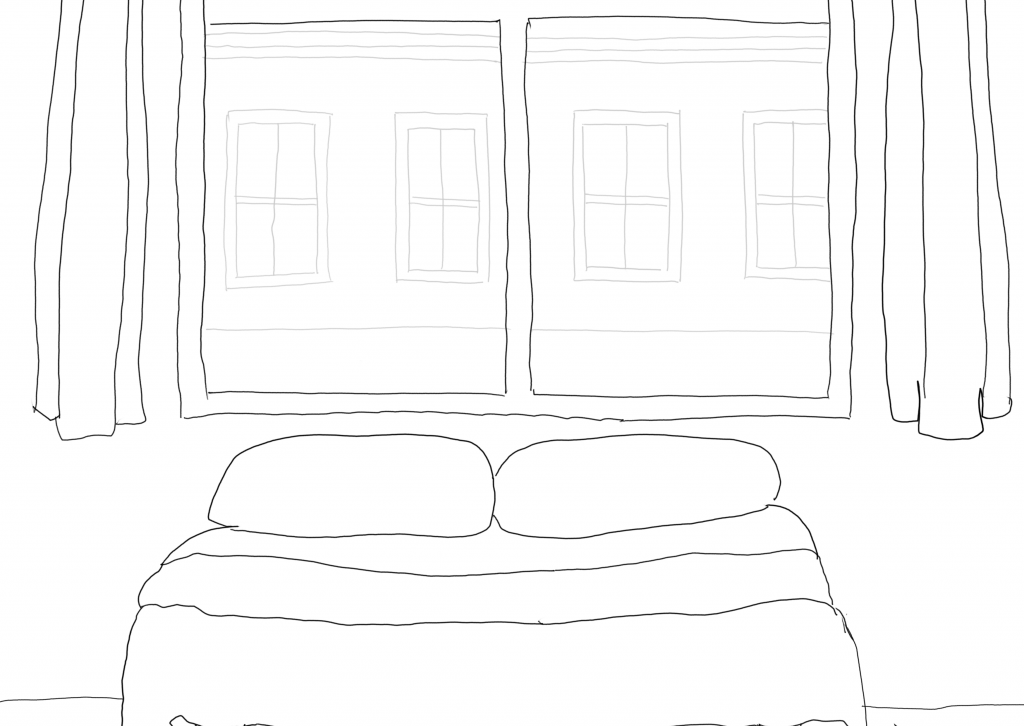
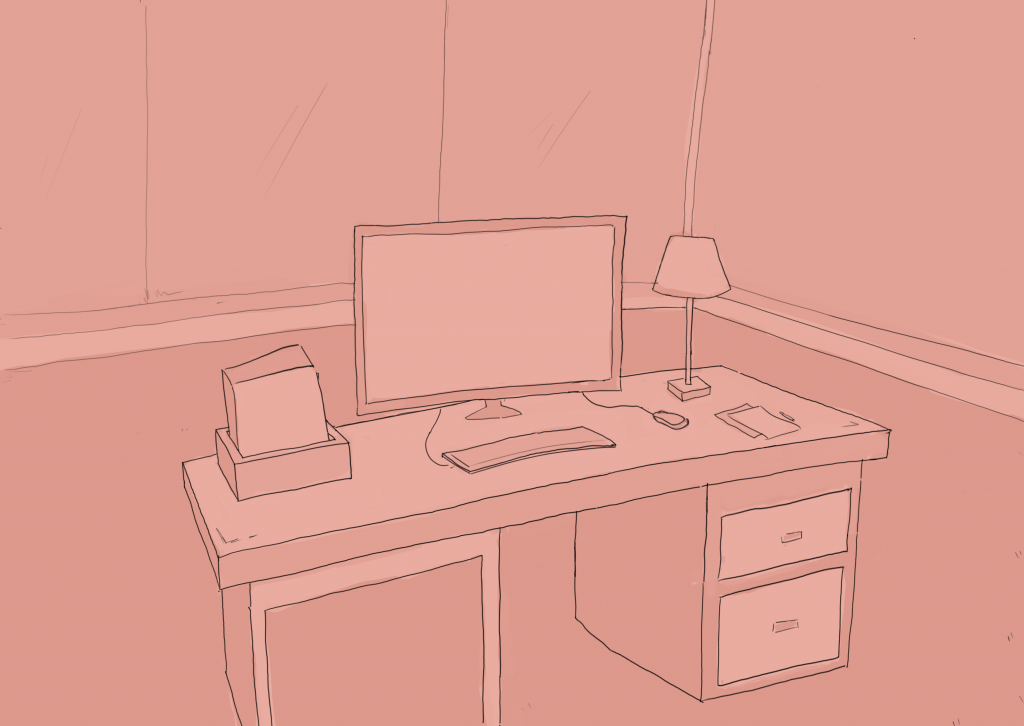
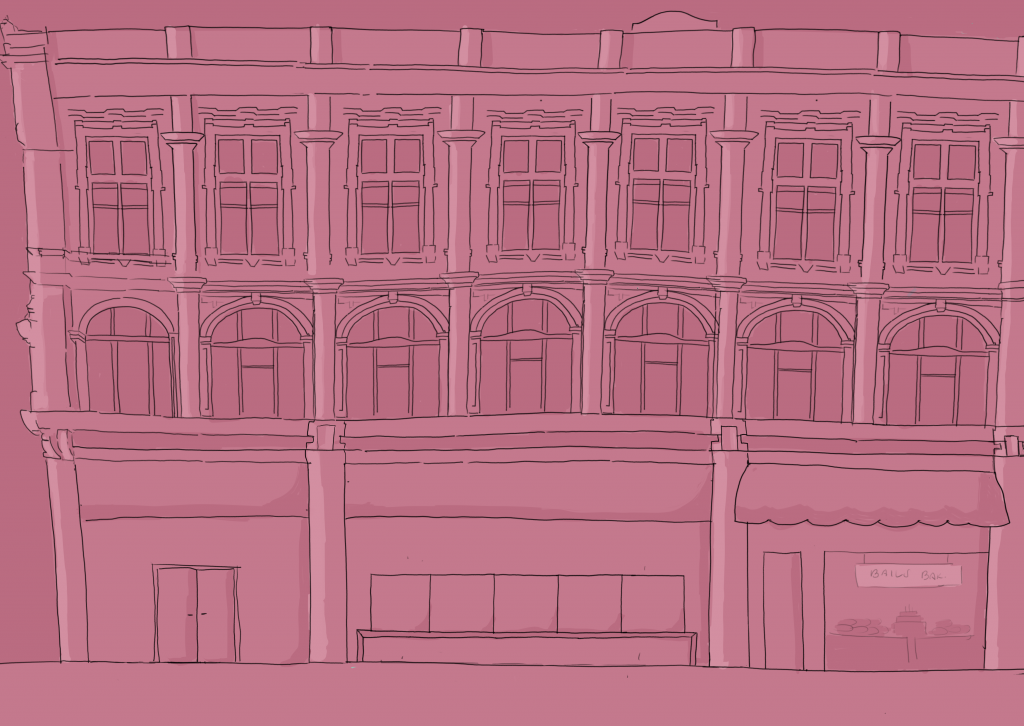
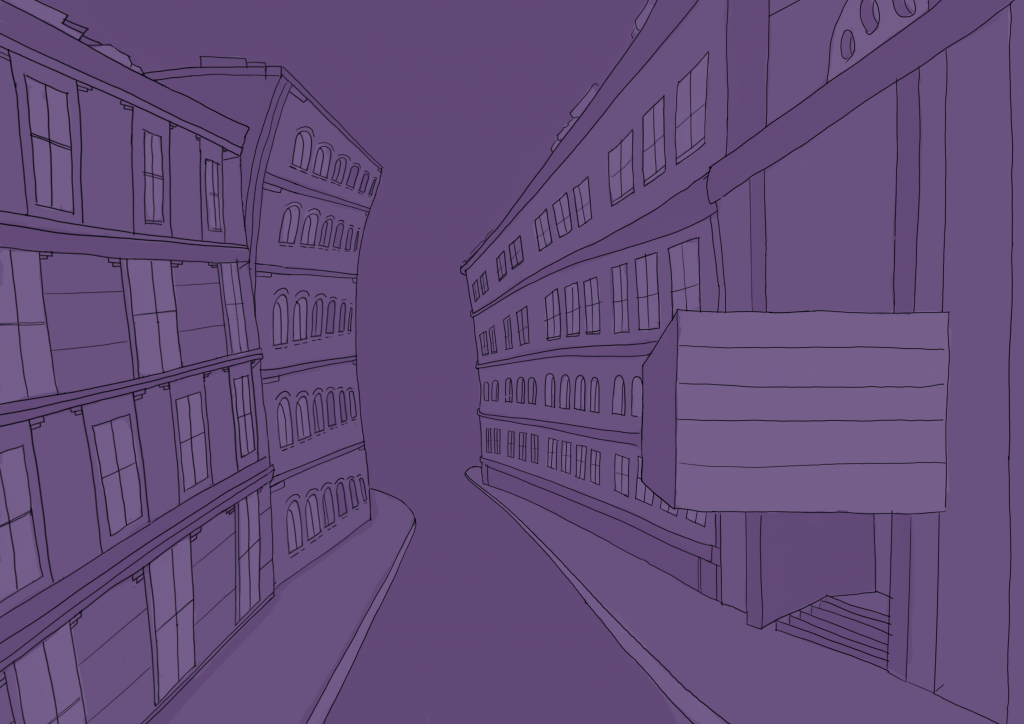
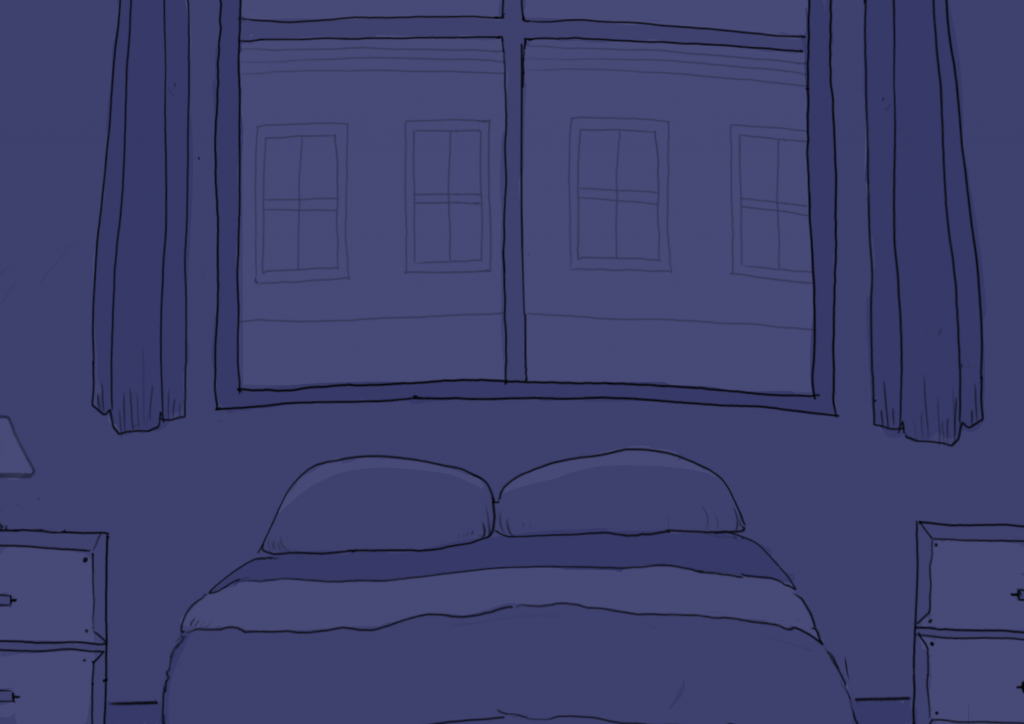
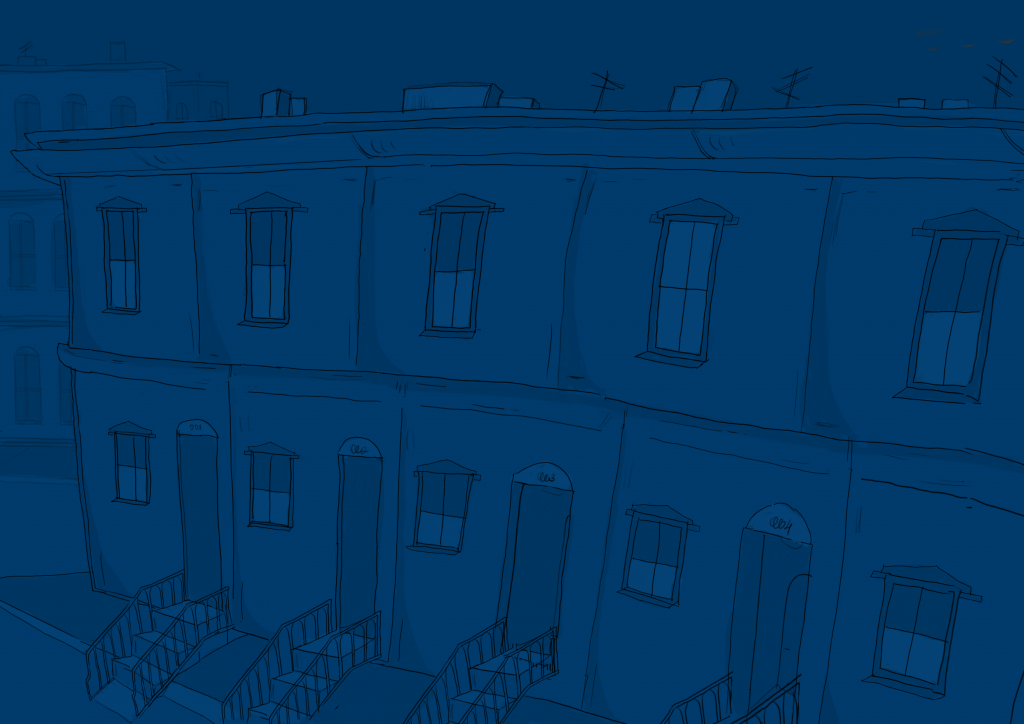
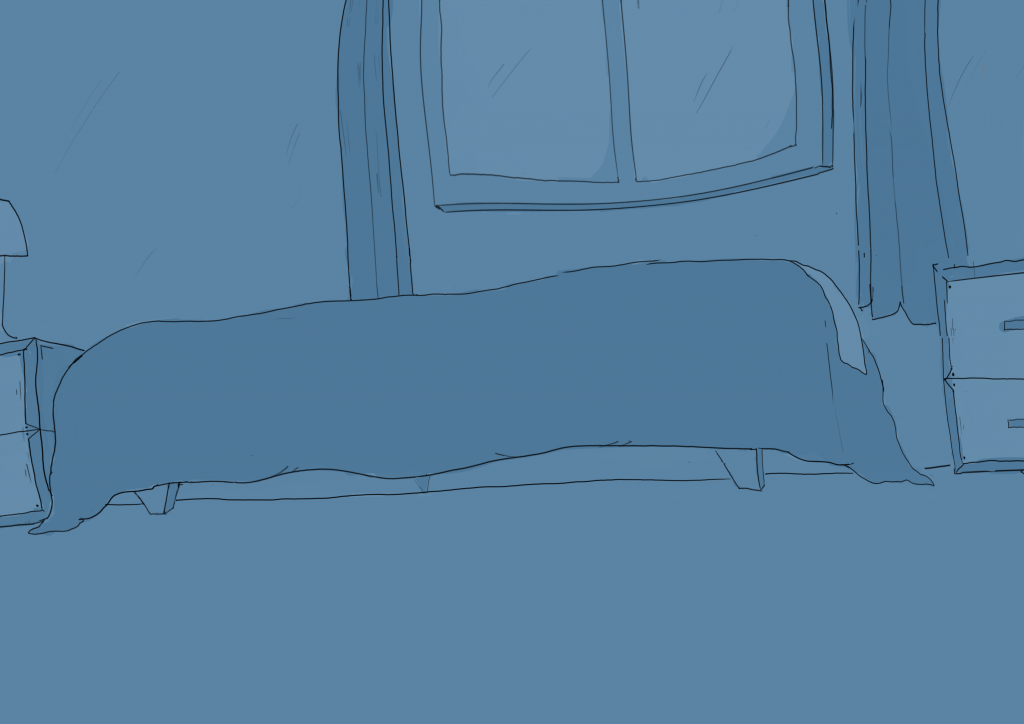
First, the images in the storyboard were redrawn and stylised in Krita to reflect the visual aesthetic I wanted. There were some minor changes from the storyboard, mainly in regards to positioning and style, as ideas and tastes changed and developed.
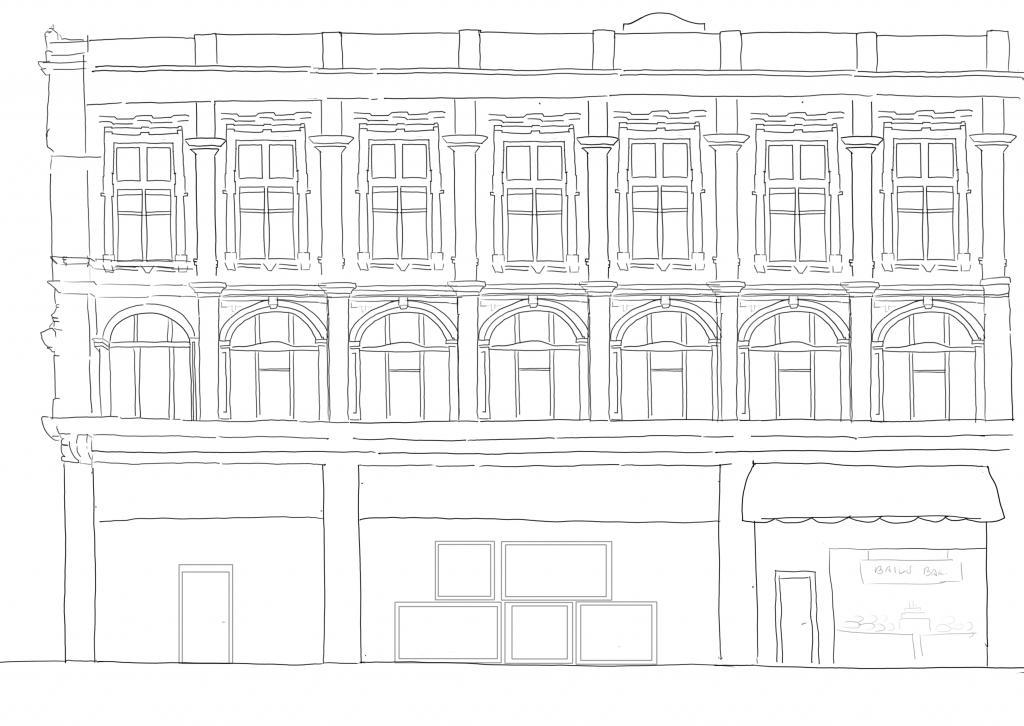
Then, the images were coloured and warped, and the exact complementary colours to the three base colours were chosen for highlighting aspects of the environment and the data (seen as swatches on the corners). I chose this style because the theme—media and its effects, particularly the idea of media content constantly following one around—evoked the feeling of classic comic book tropes from the 1950s and 60s. The mid-century modern aesthetic helped capture that sense of familiarity and storytelling.

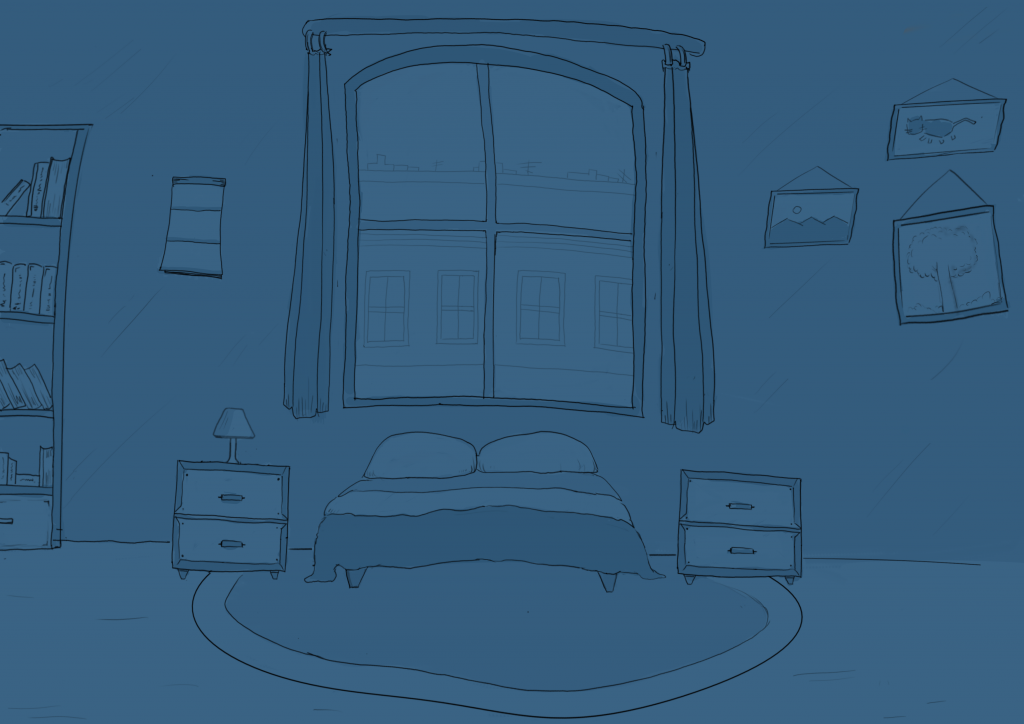
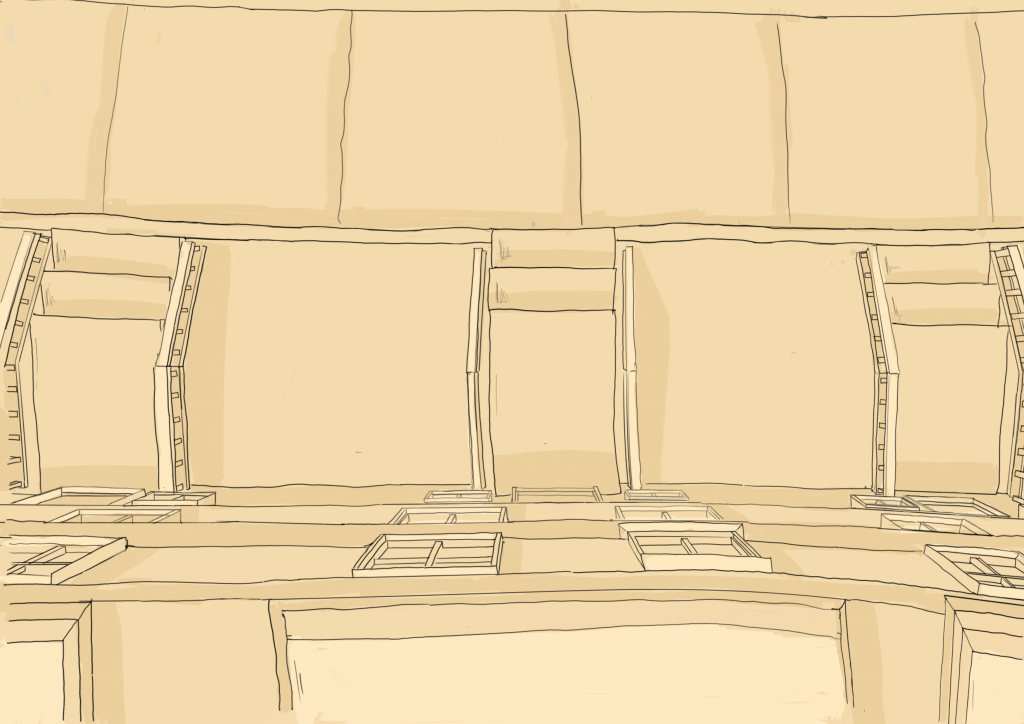
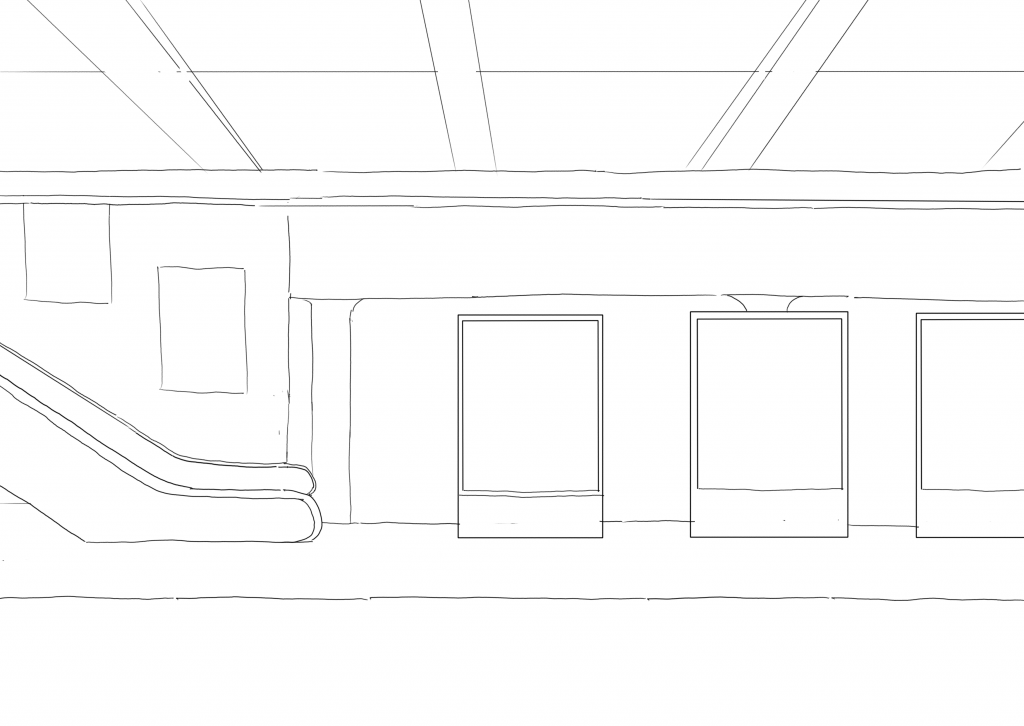
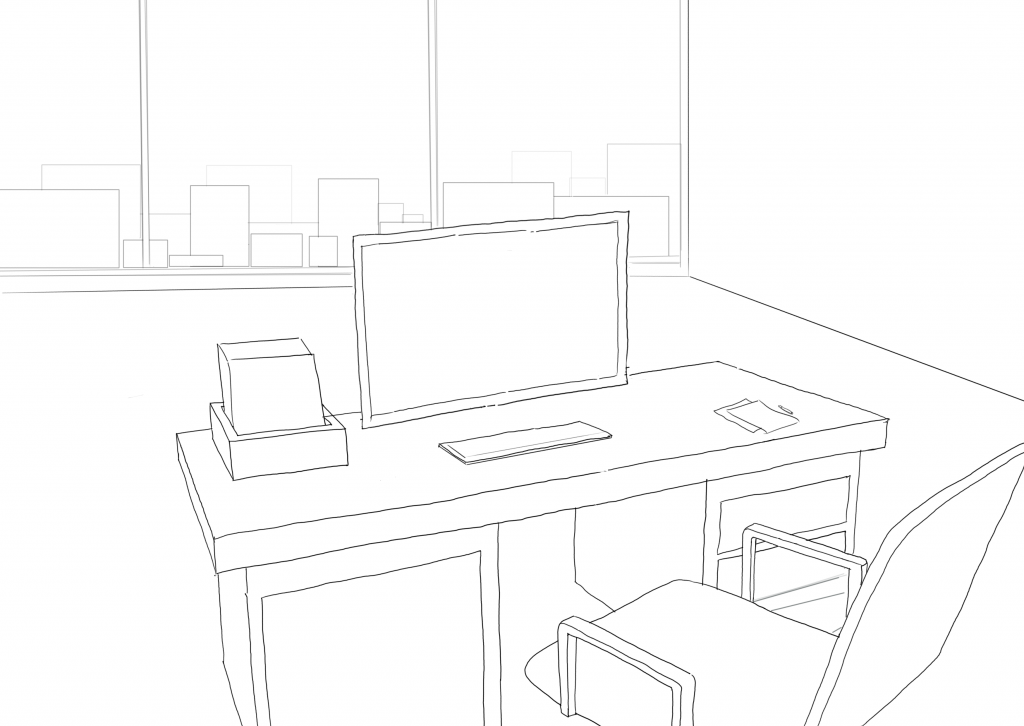
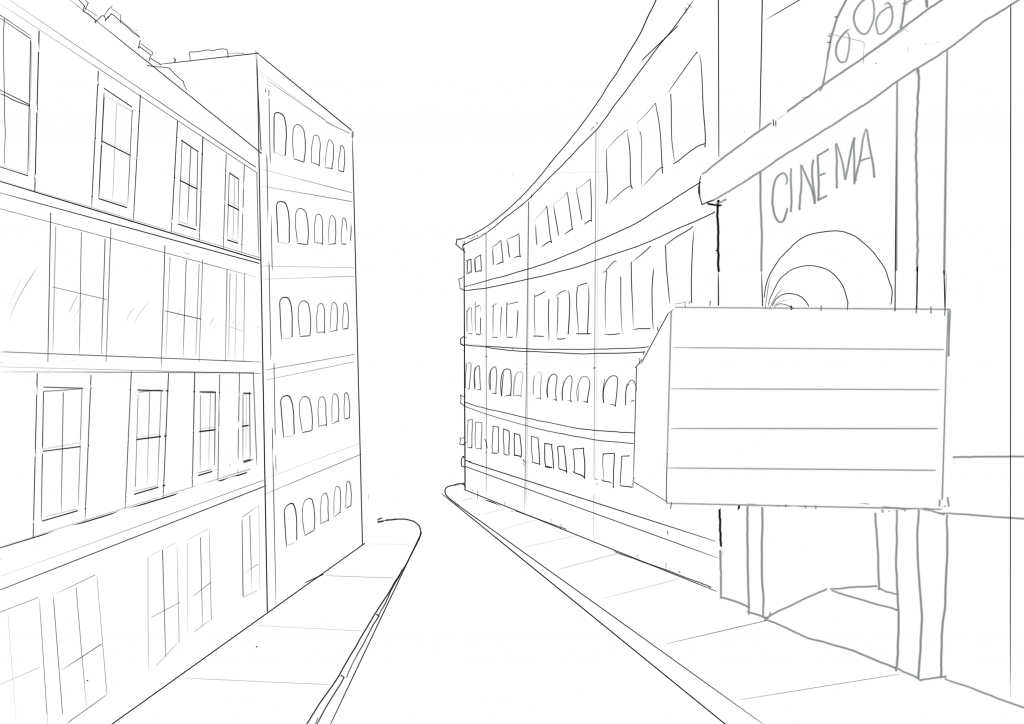
It was important that everything would be visible – the data should always be one of the foreground layers and should not be obscured by any other image, as it would then become difficult to pull off the movement and action of the data in Blender. The procedure was as follows: animate the background and character, ensuring the character does not obscure the data in any way, then layer on top the live data where it needs to be; i.e. over the TV or marquee in the animation. The other way was to make a separate transparent character plane to layer on top of the data so that the character can walk past the data successfully. There was some trial and error in this process, but eventually three layers were created: background animation, a transparent character plane and the train plane, with the data to be layered in front of the background animation but behind all else. Keeping this in mind, the animation for the background started and the scenes then pieced together in ToonBoom Harmony. Any missing elements or details were also added in here.
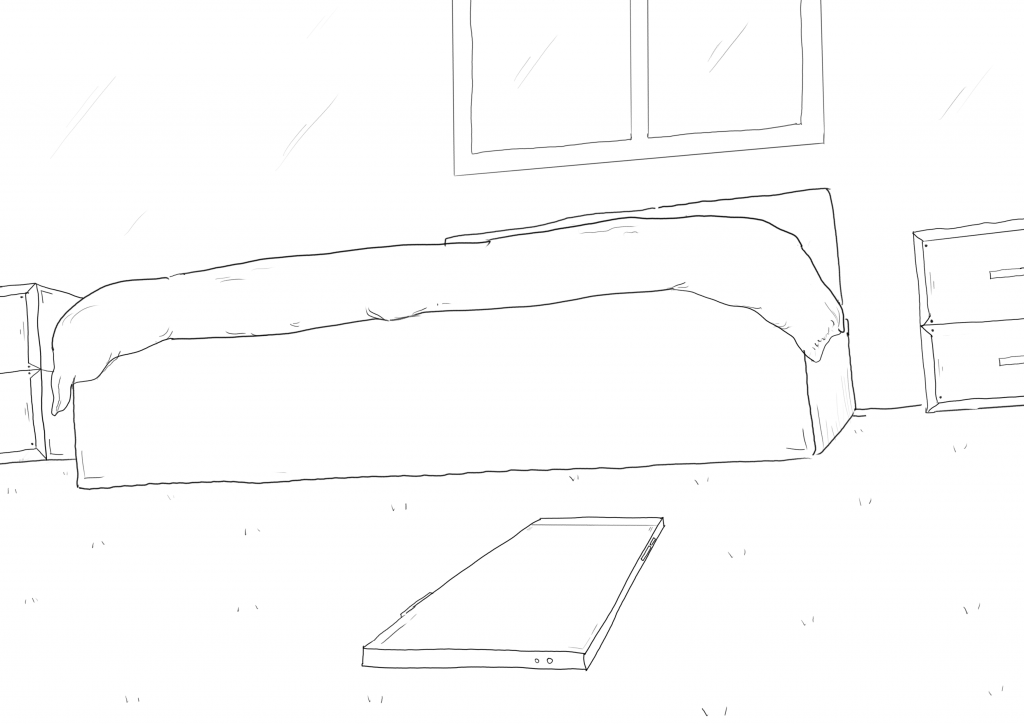
Then the character (and their shadow) plane was drawn on a new plane over the background plane going through their motions, making sure these planes were synced. It was pretty rough at this point to avoid taking too long.
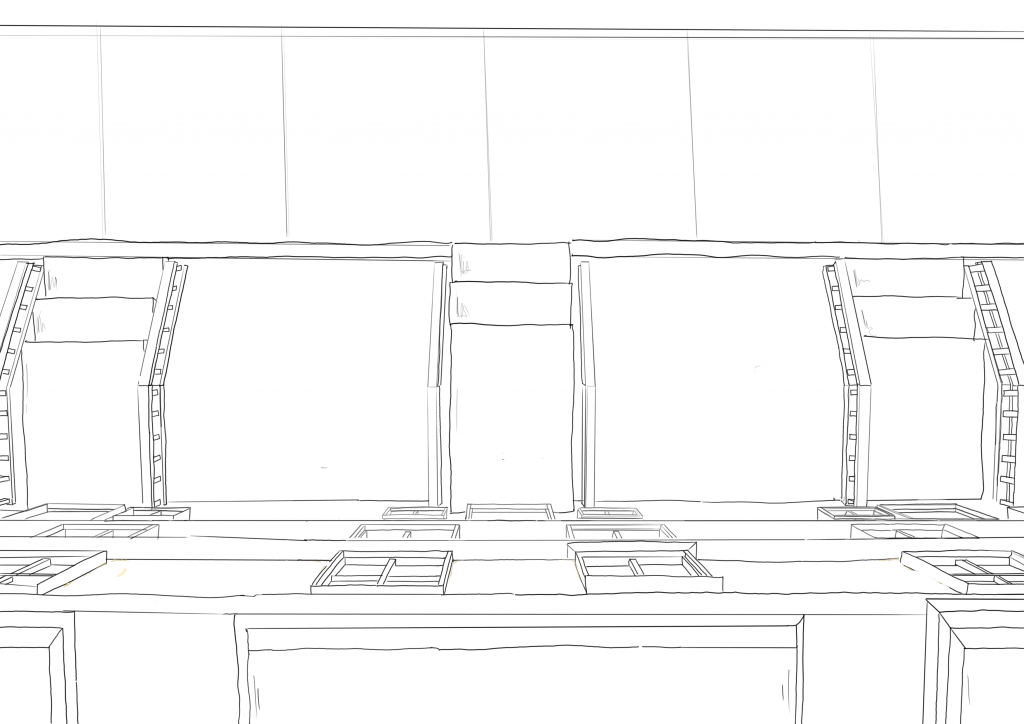
Then, the train plane was drawn and animated.
These were finally imported to Blender and layered accordingly, and a camera was placed over the top. I had to make sure the videos kept cleanly looing and the data fading in and out as they had to. This process is documented in the data combination section.